
A failed bevel cut is noticeable at first glance: open joint, splintered edge, angle that does not match the line. The problem rarely comes from the tool, but almost always from the holding of the piece, the choice of blade, or an approximate setting. Mastering bevel cuts in wood requires addressing these three parameters methodically, regardless of the type of saw used.
Wood deformation after bevel cuts: anticipating hygroscopic shrinkage
A perfect angle at the time of cutting can close or open within a few weeks. This phenomenon particularly affects bevel cuts exposed to the elements: post feet, cladding, deck pieces.
See also : Essentials for a Quick and Practical Kitchen
Wood moves differently depending on its grain and moisture content. On a bevel cut, the exposed surface is larger than on a straight cut, which amplifies moisture exchange. Carpenters and manufacturers of exterior joinery report that the actual angle measured several weeks after installation can vary significantly due to these differential movements.
We recommend two complementary measures. The first: plan for a slight overcut (a few tenths of a degree beyond the target angle) to compensate for the expected shrinkage. The second: incorporate a fitting sanding as a standard step in the process, not as a correction for mistakes. For species with high tangential shrinkage (beech, oak), this precaution becomes essential for a joint that will remain tight over time.
Further reading : The ENT: a revolution for high school students and teachers
Before learning how to cut wood at an angle accurately, one must understand this reality: the cut is only half the job; the behavior of the material does the rest.
Blade choice and machine settings for a clean bevel cut
The blade determines the quality of the cut as much as the angular setting. On a circular saw, a blade with a high tooth count and alternating tooth geometry produces a cleaner cut than a fast-cutting blade. For bevel cuts, where the edge is particularly vulnerable to splintering, this choice is not optional.
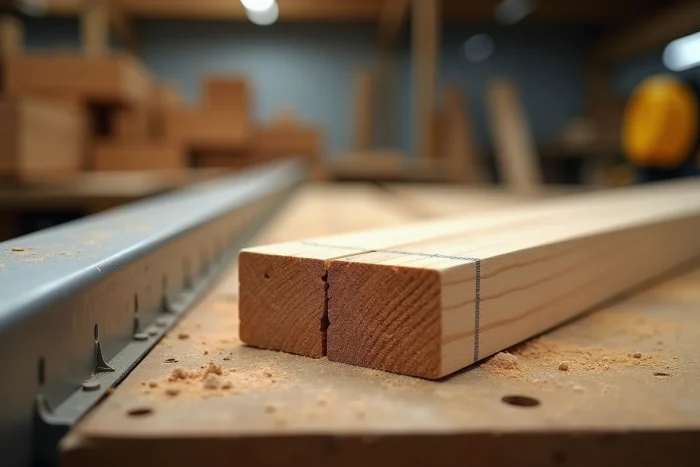
Table saw: the sliding carriage changes everything
Bevel cutting on a table saw with only the parallel guide is a classic source of kickback. INRS recommends the systematic use of splitter knives, push sticks, and sliding carriages for cuts not parallel to the guide. The carriage allows you to push the piece without it pivoting or getting stuck between the blade and the guide.
The angle setting of the blade deserves independent verification from the machine’s graduation. We regularly observe discrepancies between the displayed angle and the actual angle. A digital protractor placed directly on the blade body provides a reliable measurement in seconds.
Miter saw and jigsaw: two different logics
The miter saw excels at repetitive angle cuts (baseboards, frames, moldings). Its limit: cutting capacity, which restricts the width and thickness of pieces. For larger sections, the table saw or band saw takes over.
The jigsaw allows for bevel cuts on hard-to-reach pieces, but its flexible blade produces a less straight line. A cutting guide attached to the piece partially compensates for this flaw. Without a guide, the jigsaw remains a roughing tool for bevel cuts.
Bevel cutting jigs: making and using for repeatable angles
As soon as a project requires multiple cuts at the same angle, the jig becomes the best ally for precision. It eliminates the step of individual marking and removes variations related to manual positioning.
- MDF or plywood jig: cut at the desired angle on the band saw, then refined with a plane. It is placed between the parallel guide and the piece on the table saw and can be secured with double-sided tape or small screws.
- 3D printed jig: carpenters now use custom support pads and miter stops, shared on platforms like Printables and Thingiverse. These jigs are particularly useful for short or difficult-to-clamp pieces.
- Dedicated miter carriage: a plywood platform that slides into the groove of the table saw, with a stop fixed at the desired angle. It combines the repeatability of the jig and the safety of the sliding carriage.
The jig must be checked with a precision protractor before the first series cut. A half-degree error on the jig will be replicated on each piece, and the accumulated discrepancy on a polygonal assembly quickly becomes visible.

Safety and holding the piece during a bevel wood cut
Bevel cuts increase the risk of kickback on a table saw because the piece is no longer parallel to the guide. The cutting force creates a lateral component that tends to eject the wood towards the operator.
- Always use a splitter knife adjusted as close to the blade as possible, and never remove it for a bevel cut.
- Hold the piece with a push stick at the end of the pass, never with fingers near the blade.
- For long bevel cuts, secure the piece to the carriage with quick-clamp clamps to prevent slipping.
- Ensure that the offcut cannot get stuck between the blade and the guide, the main source of kickback.
The push stick and sliding carriage are not optional accessories for bevel cuts: they are devices that condition both safety and the quality of the result.
Marking and checking before cutting
A pencil line on raw wood lacks readability. We recommend placing a masking tape on the cut line, then tracing with a fine cutter. The tape also limits fiber splintering on the surface, which directly benefits the sharpness of the bevel cut.
The final check is done piece against piece, not against a square. Two pieces meant to fit together must be checked together: it is the quality of the closed joint that validates the cut, not the absolute angle measured in isolation.